
Whether you manage a bustling online store’s database or are just working on your personal project, connecting to your MySQL database with MySQL Workbench can feel like having a Swiss Army knife for your data!
MySQL Workbench is a unified visual tool for database architects, developers, and DBAs that is your gateway to efficiently managing, querying, and sculpting your database exactly how you want it. It offers data modeling, SQL development, and comprehensive administration tools for server configuration, user administration, backup, and more.
One of its key functionalities is enabling users to connect to their MySQL databases to manage content, run queries, and configure the server settings. In this article, we will provide a step-by-step guide on connecting to a MySQL database via MySQL Workbench.
Also Read: How to Import Large SQL file in phpMyAdmin?
What are the Prerequisites?
Before you connect MySQL Workbench to your MySQL database, you need to ensure that you have the following:
➢ Install MySQL Workbench: You have to download and install MySQL Workbench from the official MySQL website. Ensure it matches your operating system’s system type (32-bit or 64-bit).
➢ MySQL Server Should be Installed: The MySQL Server should be installed and running on your machine or accessible over the network.
➢ Database credentials: To access the database, you need the hostname or IP address of the MySQL server, the port number (the default is 3306), a valid username, and a password.
Also Read: How to Download SQL Database in cPanel?
Step-by-Step Guide to Connect MySQL Database Via MySQL Workbench
➔ Firstly, open MySQL Workbench from your applications folder or start menu.
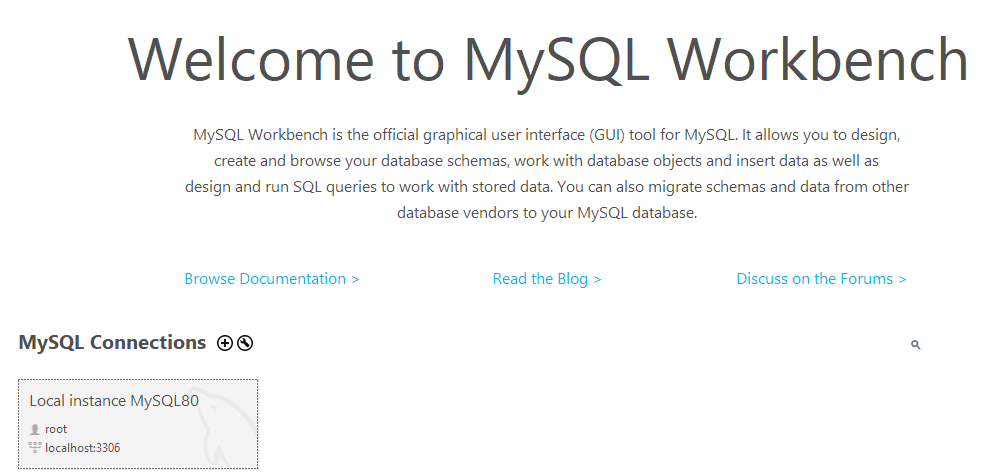
➔ On the MySQL Workbench home screen, you need to locate the section titled ‘MySQL Connections.’
![]()
➔ Click on the ‘+’ icon to create a new connection.
![]()
➔ You will see a ‘Setup New Connection’ dialog in which you have to fill in the necessary account details.
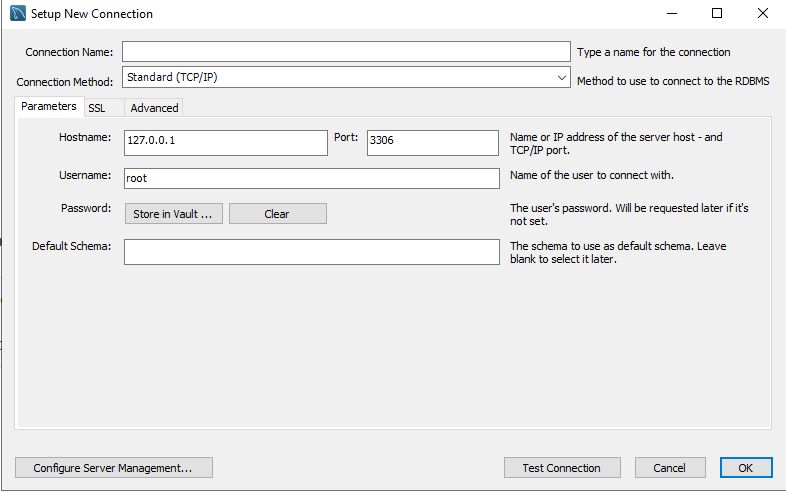
★ Connection Name: You need to give your connection a recognizable name. This is just a name that is considered as a label to identify the connection in MySQL Workbench and does not impact your connection settings.
★ Connection Method: If you are connecting via TCP/IP, select ‘Standard (TCP/IP)’ as the connection method.
★ Hostname: You need to enter the IP address or hostname of the MySQL server.
★ Port: The default MySQL port is 3306. If your MySQL server uses a different port, you must change it.
★ Username: In this, you need to enter the username that has access rights to the database.
Optionally, you can click ‘Store in Vault’ to save your password securely.
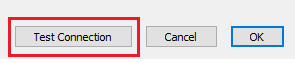
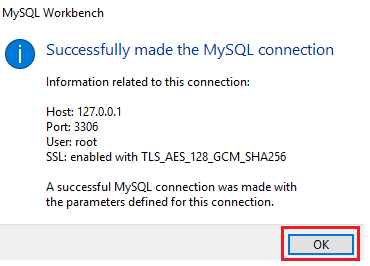
➔ Before you save the connection details, click ‘Test Connection’ to verify that all details are correct and MySQL Workbench can connect to the MySQL server.
➔ If prompted, enter the username and password. If the connection settings are correct, you should receive a success message.
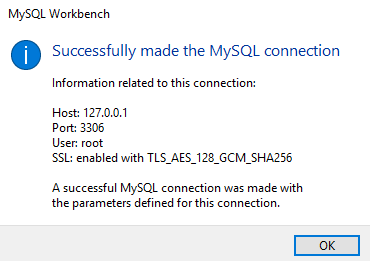
If not, you will receive an error message indicating what went wrong, such as ‘Cannot connect to database server.’
➔ After completing the testing, click ‘OK’ to save the connection.
Double-click the connection tile on the home screen to connect to the MySQL server. If your connection is successful, you will see the main interface where you can manage databases, execute SQL queries, and access server utilities.
Also Read: How to Install a PHP Script in cPanel?
Conclusion
As we saw, connecting to a MySQL database using MySQL Workbench is straightforward and involves setting up a new connection with the correct credentials and configuration. Once it is connected, MySQL Workbench offers powerful tools for managing databases, executing queries, and configuring the server.