
Highlights
- If you are tired of spam emails, cPanel has built-in tools to stop them!
- You can block them by enabling spam filters, configuring email filters to block specific spam patterns, using blacklists and whitelists, or by setting up BoxTrapper.
Spam emails are a major headache for both website owners and email users alike. They unnecessarily fill your inbox, waste storage space, and can even pose serious security risks, such as phishing or malware.
If you are hosting your email through cPanel, you’re in luck!
This is because cPanel provides powerful built-in tools to detect, filter, and block spam effectively.
In this guide, we will walk you through various methods to block spam email in cPanel, covering all the available tools like Spam Filters (Apache SpamAssassin), Email Filters, and Blacklists so that you can take full control over your inbox.
Let’s get started!
Also Read: How to Reset Email Account Password in cPanel?
Ways to Block Spam Emails in cPanel
1. By Enabling Spam Filters (Apache SpamAssassin)
cPanel includes a built-in spam filter called Apache SpamAssassin, which uses rule-based scoring to identify & block spam emails.
To do this, follow these steps:
➔ Log in to your cPanel.
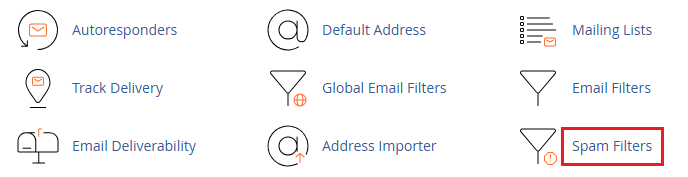
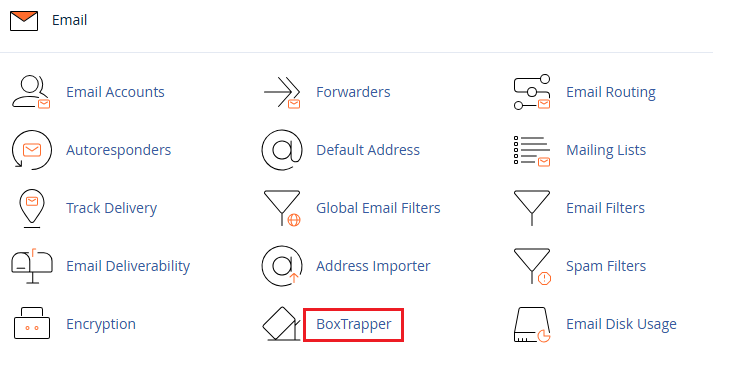
➔ You have to scroll down to the ‘Email’ section.

➔ In that section, click on ‘Spam Filters’ or ‘SpamAssassin’, depending on your cPanel theme.
➔ Toggle ‘Process New Emails and Mark them as Spam’ to Enabled.

*Optional: Enable ‘Automatically Delete New Spam (Auto-Delete)’, but you need to be careful with this, as this can delete false positives.
| Tip: You can adjust the spam threshold score. Lower scores are stricter (e.g., 3), while higher scores (e.g., 7) are more lenient. The default is usually 5. |
Also Read: How to Set up Email Forwarding in cPanel?
2. Configure Email Filters to Block Specific Spam Patterns
This is another way to block spam emails, as email filters allow you to block spam based on keywords, sender addresses, or subject lines.
To do this, follow these steps:
➔ In cPanel, go to the ‘Email Filters’ section.

➔ In that, you have to choose the email account you want to set filters for.

➔ There, you have to click on ‘Manage Filters.’

➔ Click ‘Create a New Filter.’
➔ You need to enter a name for the filter (e.g., “Block Via Spam”).

➔ You need to set rules like:
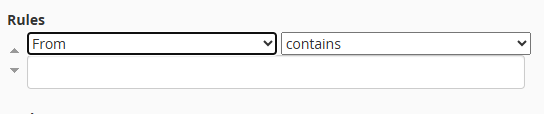
“From” > “contains” > suspiciousdomain.com
“Subject” > “contains” > win money
You need to set the Action to Discard Message or Redirect to email@example.com for monitoring.
Once done, click ‘Create’ to activate the filter.

What if you want to set up Email Filters For All Accounts?
You can set this up by using ‘Global Email Filters.’
To do this, follow these steps:
➔ In cPanel, go to ‘Global Email Filters’ under the ‘Email’ section.

➔ Click ‘Create a New Filter.’

➔ After that, repeat the same steps as in Email Filters to add your spam-blocking rules mentioned above.
| Best Practice: You have to combine multiple rules to create advanced filters that catch more types of spam. |
Also Read: How to Create a Basic SPF Record in cPanel?
3. Use Blacklists and Whitelists
Blacklisting and whitelisting method is another best way which allows you to control which senders are blocked or allowed manually.
To do this, follow these steps:
➔ Go to ‘Spam Filters’ in cPanel.

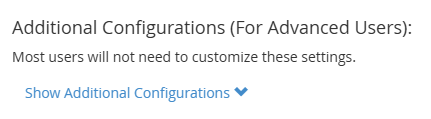
➔ In that, click ‘Show Additional Configurations.’
➔ Under ‘Blacklist’ (Emails Always Considered Spam):
Here, you can add email addresses or domains like *@spamdomain.com.
➔ Under ‘Whitelist’ (Emails Never Considered Spam):
Here you can add the trusted senders you want to allow.
Also Read: How to Access the cPanel Database Remotely?
4. Set Up BoxTrapper
BoxTrapper is an additional tool that requires all incoming senders to verify their identity, which can help drastically reduce spam.
*Note: BoxTrapper may delay legitimate emails, so use with caution.
To Enable BoxTrapper:
➔ Go to the Email section & click on ‘BoxTrapper.’
➔ You need to select the email account.
➔ You have to click ‘Manage’ and then ‘Enable.’

Also Read: How to Change Server Timezone in cPanel?
Monitor Your Spam Reports and Adjust Filters
After setting up filters, it’s important to monitor your Spam Box and adjust rules as required.
➔ You have to regularly check the Spam folder to review what’s being flagged.
➔ You have to adjust the spam score sensitivity if you are receiving too many or too few flagged emails.
➔ You need to keep your blacklist and whitelist up to date.

Upgrade to high-performance Linux hosting with advanced email controls, rock-solid security, and seamless cPanel management.
Conclusion
Blocking spam emails in cPanel is not just about keeping your inbox clean. It’s about protecting your time, your resources, and your online security. By enabling Spam Filters like Apache SpamAssassin, setting up custom email filters, and using blacklists or whitelists, you gain full control over what reaches your inbox.
Even if you are not very technical, cPanel’s interface makes it easy to manage these tools. With just a few tweaks, you can reduce spam dramatically and improve the overall performance of your email hosting.
Frequently Asked Questions
1: What happens if I set the spam filter threshold too low?
A lower threshold (e.g., 2) is stricter and may mark legitimate emails as spam. You need to always test before applying it to important accounts.
2: Can I recover emails marked as spam?
Yes. If Auto-Delete is disabled, emails are moved to the Spam folder, where you can review and recover them.
3: Does cPanel block attachments from spam emails?
Not directly, but filters can be configured to flag or discard messages with specific attachment types or patterns.