
To safeguard your system against unauthorized access to the Windows operating system, one of the fundamental tools you will get from this operating system is the Windows firewall.
Configuring the Windows Firewall to restrict access to specific IP addresses is important for enhancing your Windows VPS network security. By allowing the IP addresses you trust to connect to the port, you can minimize the risk of unauthorized access, data breaches, and other potential security breaches.
This article will provide step-by-step instructions on configuring the Windows Firewall to allow connections from specific IP addresses for port connections in your Windows VPS while blocking all others.
Let’s get started with the process!
Also Read: A Guide to Fix RDP Error: An Internal Error has Occurred
Steps to Configure Windows Firewall to Allow Only Specific IPs For Port Connection on Windows VPS
➔ Connect to your Windows VPS server using RDP.
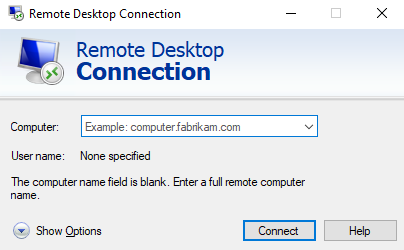
Also Read: How To Connect To A Windows VPS using RDP?
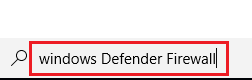
➔ Once logged in, open the Start menu and type ‘Windows Defender Firewall’ in the search bar.
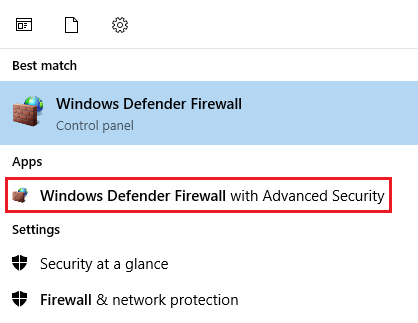
➔ From the search results, select ‘Windows Defender Firewall with Advanced Security’ to open the Windows Firewall Management Console.
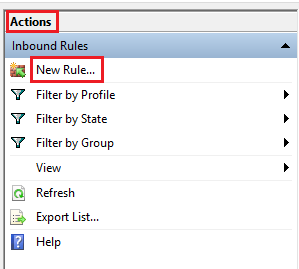
➔ In the management console, you have to click on ‘Inbound Rules’ on the left-hand side.

➔ In the right-hand pane, Under ‘Actions’, you have to click on ‘New Rule.’
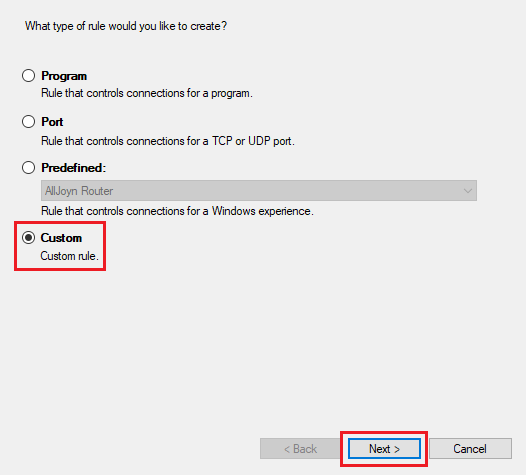
➔ After that, select ‘Custom’ and click ‘Next’
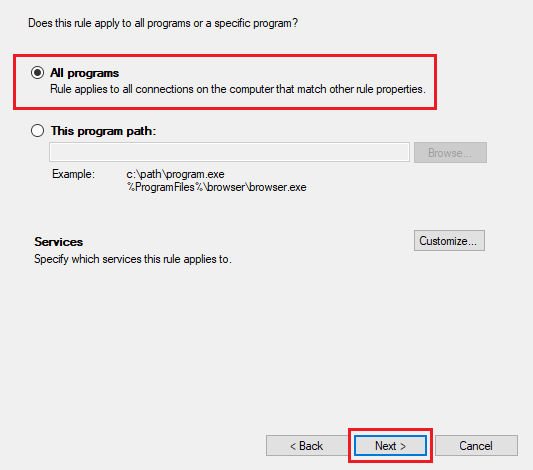
➔ You need to select ‘All programs’ & click ‘Next’ to proceed to the next step.
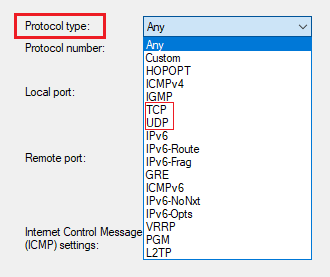
➔ After clicking, you will be in the ‘Protocol & Ports’ section.

➔ You need to select the ‘Protocol type’ (TCP or UDP) from the dropdown to which the rule will apply. In case If you are not sure, you can also create separate rules for both TCP and UDP.
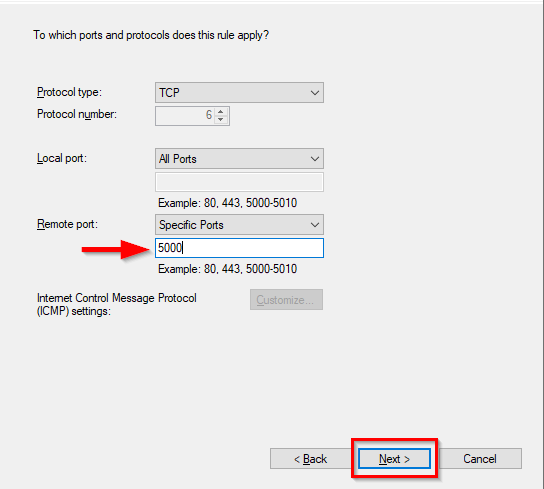
➔ You have to enter the port number, as we are using a Non-standard RDP port 5000 here, and click ‘Next.’
Also Read: How to Create a User in RDP for Windows Server?
➔ Now, you have reached the ‘Scope’ section, where you will need to add the remote IP address to which you want to connect your port.
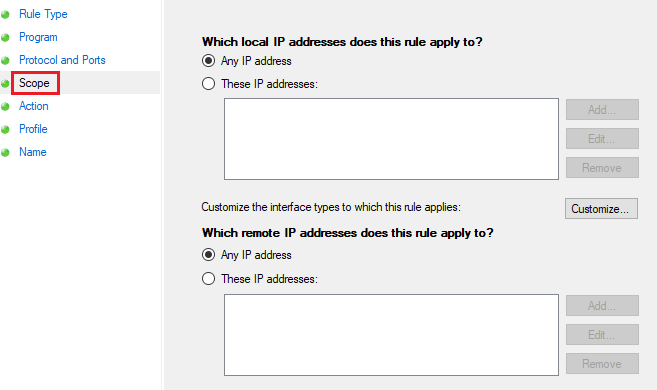
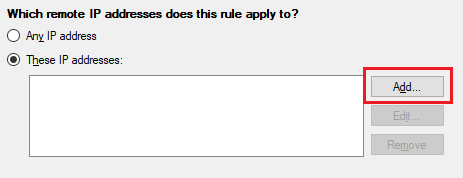
➔ You have to specify your ‘Remote IP addresses.’ For this, select the option ‘These IP addresses’
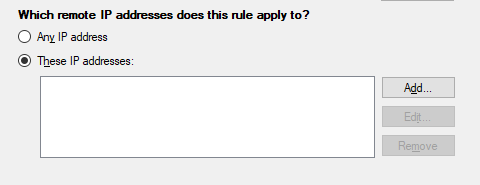
➔ An option for ‘Add’ enables you to add the IP addresses; just click on it.

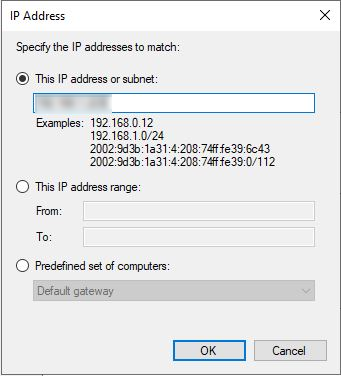
➔ You can enter the specific IP address or range of IP addresses you want to allow access to the specified ports.
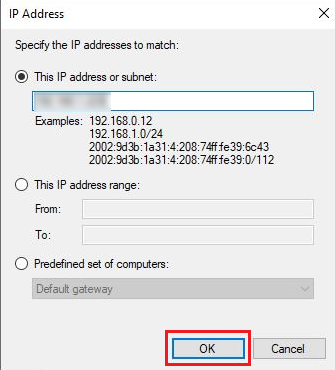
➔ After your IP addresses have been added, click ‘OK’
➔ Now click ‘Next’ to proceed.

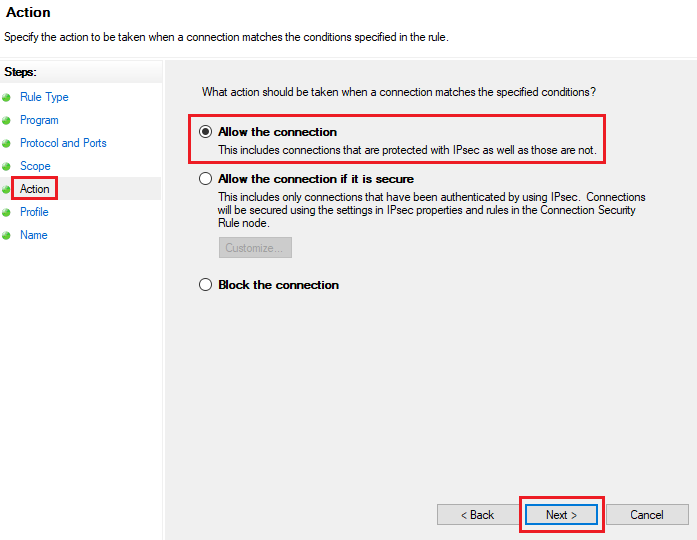
➔ You have reached the ‘Action’ section. Select ‘Allow the connection’ to permit access to the specified ports from the specified IP addresses & click ‘Next’ to proceed.
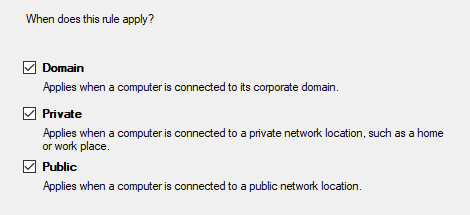
➔ Now, you have to select the scenarios for which your rule will apply. Leave all profiles (Domain, Private, Public) checked unless you have specific requirements to restrict the rule to certain network profiles & click ‘Next’ to continue.
➔ It’s time to provide a name and description for the rule you are applying to identify its purpose later.
➔ Once done, click ‘Finish’ to create the rule.
It’s done!! You have specified the IP address that you want to allow for connecting your ports. Your created rule will appear in the list of inbound rules in the Windows Firewall management console.
Also Read: How to restart the RDP without rebooting the windows server?
Conclusion
By following the above-given steps, you can effectively configure the Windows Firewall on your Windows VPS to allow only specific IP addresses to connect to your designated ports. Regularly reviewing and updating your firewall rules is a good practice to adapt to changing security requirements and maintain a robust defense against cyber threats.