
By enabling ModSecurity in your cPanel, You are taking a proactive step towards enhancing the security of your website.
In simple words, ModSecurity is a powerful web application firewall that helps in the website’s protection from various kinds of online threats and attacks.
As we all know, there is a major rise in cybersecurity threats, and websites are frequently targeted by malicious actors seeking to exploit vulnerabilities. In that case, ModSecurity plays a major role by serving as a robust web application firewall that acts as a strong wall between your website and potential threats.
In this article, we will discuss the step-by-step process to enable ModSecurity in your cPanel for enhanced security on your website.
Also Read: How to Install a PHP Script in cPanel?
Steps to Enable ModSecurity in cPanel
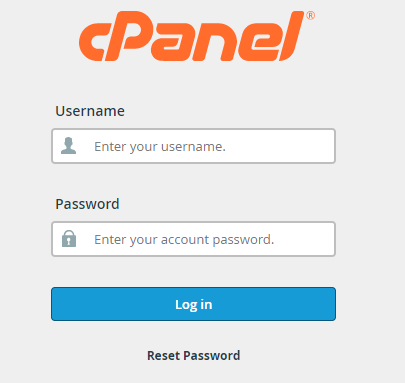
➔ Firstly, log in to cPanel with your username & password.
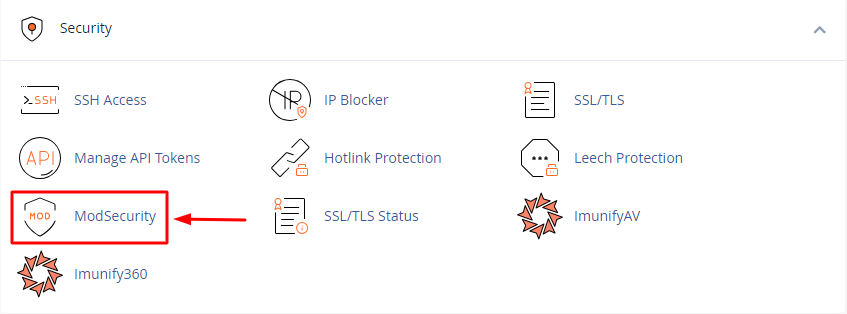
➔ Once you log in, Locate the ‘Security’ section in the cPanel.

➔ In that section, you will find the ‘ModSecurity’. Just click on it.
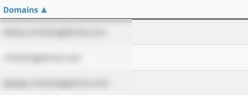
➔ After clicking it, You will reach the ModSecurity Interface, where you will see the listed domains associated with your particular cPanel account.
➔ In that interface, you will see a toggle switch ‘On’ & ‘OFF.’ To enable ModSecurity, Just toggle switch to turn it on.

By this, Your ModSecurity gets enabled in your cPanel account!
Also Read: How to Disable ModSecurity in cPanel?
Conclusion
Following the steps outlined in this article, you can protect your website from a wide range of web-based attacks. However, it’s important to monitor your ModSecurity logs and keep your rules fully updated to maintain a higher level of security.