
Imagine you’re running an eCommerce site that’s rapidly growing and demanding more bandwidth and storage. Conversely, you might have a blog that’s seen a dip in activity, prompting you to scale back on resources to save costs.
Upgrading or downgrading cPanel accounts is the key to efficiently managing these scenarios. With WHM, you have the flexibility to tailor your hosting environment dynamically, ensuring each site gets exactly what it needs.
This guide will take you through the simple yet powerful steps to adjust your hosting plans to suit your needs in WHM perfectly. Even if you’re new to WHM. Get ready to master your hosting environment and keep your websites running smoothly and efficiently!
Also Read: How To Increase Disk Space For a cPanel Account In WHM?
Steps to Upgrade or Downgrade cPanel Accounts in WHM
➔ Open your web browser and navigate to your WHM login page to log in to your WHM panel.
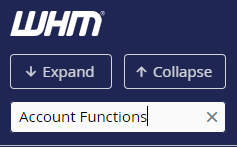
➔ Once logged in, you will be on the WHM main dashboard. In the left-hand menu, search for ‘Account Functions.’
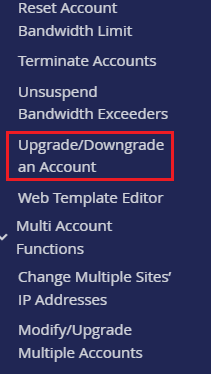
➔ From that, click on ‘Upgrade/Downgrade an Account.’
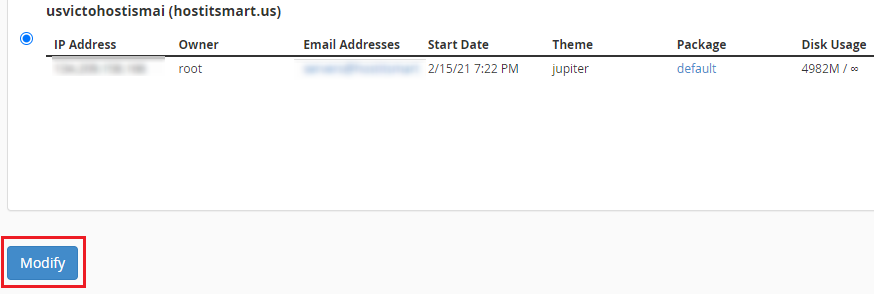
➔ You will see a list of all the cPanel accounts on your server. From that list, find the account you wish to upgrade or downgrade. You can also use the search bar to locate the account by domain name or username quickly. You have to select the account by clicking on the domain name.

➔ In that, click on the ‘Modify’ button.
➔ Once you click the button, you will be taken to a new screen to choose a new package. (In WHM, Packages define the resource limits and features available to cPanel accounts, such as disk space, bandwidth, and the number of email accounts).
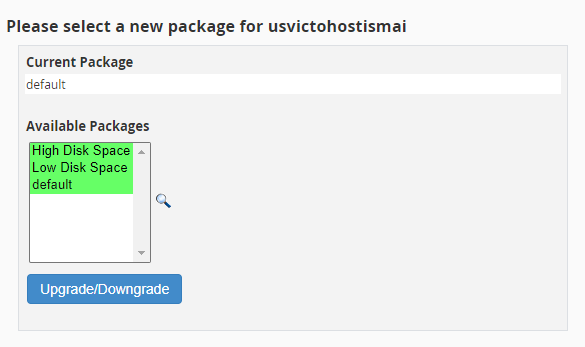
➔ You have to select the package you wish to assign to the account from the dropdown menu. You need to ensure that the new package meets the requirements of the account’s needs.

➔ You need to review the details of the new package and confirm that it matches your desired configuration.
➔ Click the ‘Upgrade/Downgrade’ button to apply the changes.

➔ After applying the changes, you will receive a confirmation message.
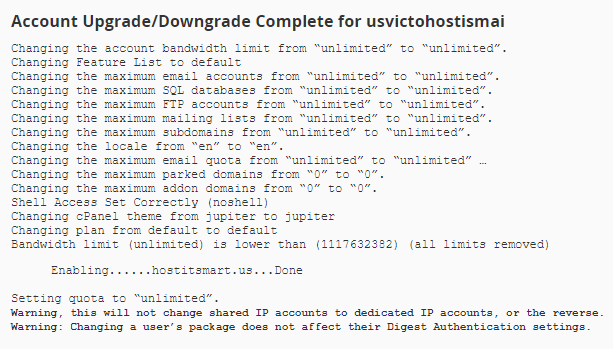
➔ You need to verify whether the cPanel account has been correctly updated. You can do this by logging into the cPanel account or checking the List Accounts section in WHM to confirm that the new package has been assigned.
Also Read: How to Delete a cPanel in WHM?
Following these steps, you can easily upgrade or downgrade cPanel accounts in WHM to manage your server resources effectively.