
Remote Desktop Protocol (RDP) is a powerful tool that is used for seamless remote access to a Windows Server. However, the benefit of RDP is only as good as the user accounts that govern access.
If you are lost in the uncharted waters of creating a user on your RDP. In this guide, we delve into the steps of creating a user in RDP on the Windows Server to ensure a smooth setup process for creating the user account.
Let’s dive deep into it!
Also Read: A Guide to Fix RDP Error: An Internal Error has Occurred
Steps to Create A User in RDP
Step-1: Start by logging into your server as an Administrator.
Step-2: Once you log in, go to ‘Start’ and search for the ‘Server Manager’ & click on it.

Step-3: A dashboard will open. In that, You have to click on ‘Tools.’
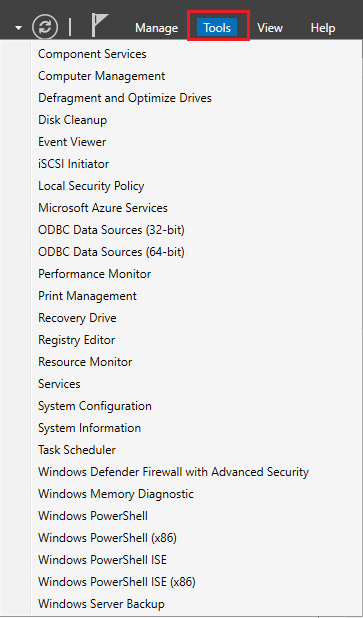
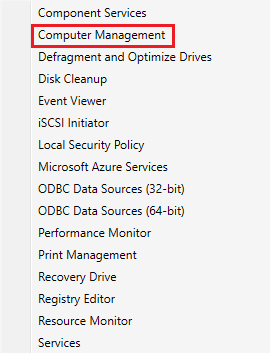
Step-4: From the menu, Select ‘Computer Management.’
Step-5: After clicking, A separate window will appear where you have to choose the ‘Local Users and Groups’ file in the list.
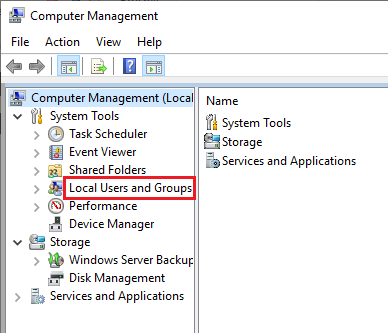
Step-6: Upon selecting the ‘Local Users and Groups’ file, you will note a sidebar has appeared on the right side, which includes the ‘Users’ document.

Also Read: How to restart the RDP without rebooting the windows server?
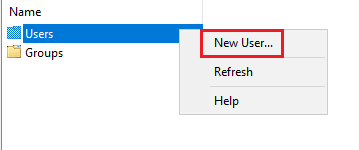
Step-7: Right-click on the ‘Users’ document and choose the ‘New User’ option to generate a user for the server.
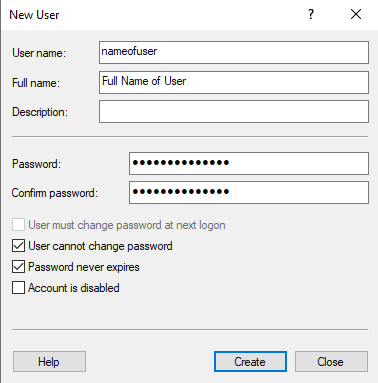
Step-8: To create a New User, you have to add certain details, including Username and password. (Ensure to create a strong password to avoid unwanted attacks and unauthorized access)
➔ Other Aspects
- The user cannot change the password.
- Password never expires.
Enabling either or both of these features prevents you from changing and locking the password.
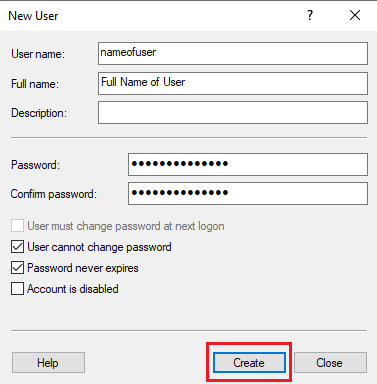
Step-9: After filling in the details, tap the ‘Create’ button to make sure a user is created for your server.
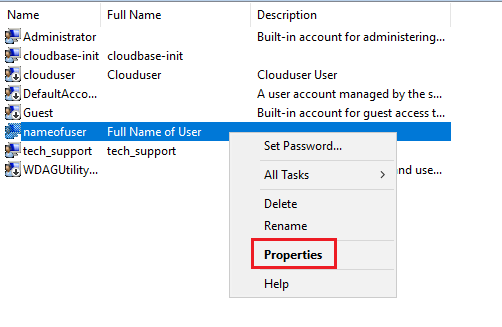
Step-10: Since this created user in RDP is for accessing your Windows virtually, it’s important you add the generated user to the RDP group of the server.
Start by right-clicking the new user, which will open a dialog box on the right side where you have to scroll down and click on ‘Properties.’
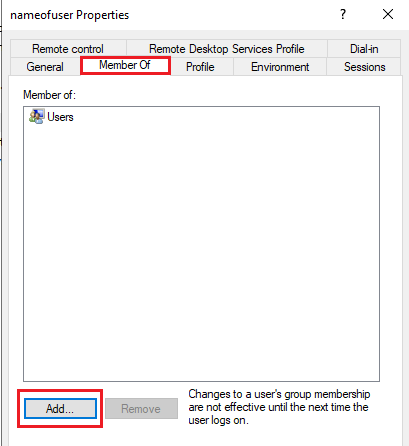
Step-11: Select the ‘Member Of’ tab in the Properties sidebar and click ‘Add.’
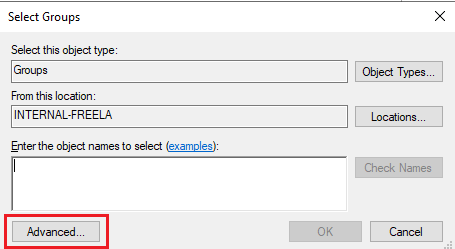
Step-12: Tap the ‘Advanced’ option to redirect you to a new sidebar.
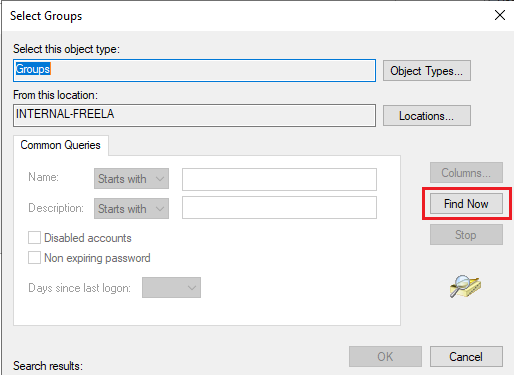
Step-13: Click on the ‘Find Now’ option on the right.
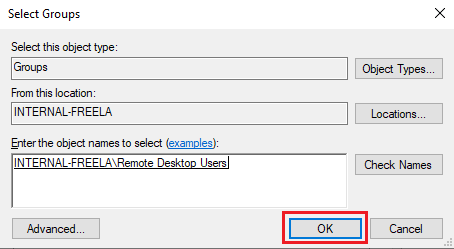
Step-14: Tap the ‘Remote Desktop Users’ option from the list below.
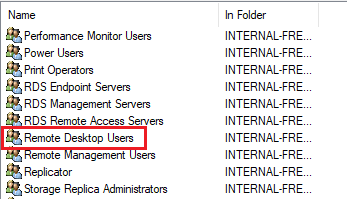
Step-15: Upon clicking the Remote Desktop Users option, click ‘OK’, and you will see the Remote Desktop Users group has been added to the Member Of tab.
That’s it! You have created a user in RDP for Windows Server.
Also Read: How to Fix the Incorrect Password Issue on RDP?
Conclusion
We hope this blog helped save the day, giving you a comprehensive understanding of how to create a user on RDP. It is important to note that these steps might vary slightly depending on the version of your Windows. Nonetheless, it will assist you effortlessly through the process of creating a user for RDP access.