
While managing a website, handling DNS (Domain Name System) records is very crucial. It helps to translate human-readable domain names into IP addresses, which allows users to access websites using familiar domain names.
In the Webuzo panel, adding or editing DNS records is a straightforward process, and in this article, we are going through the step-by-step procedure to manage your DNS.
Also Read: How to Change the PHP Version in the Webuzo Panel?
Steps to Add DNS Records in Webuzo Panel
1. Login to your Webuzo panel by entering your credentials.
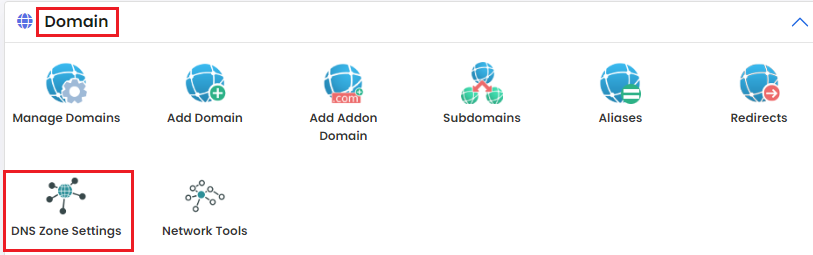
2. Once logged in, you have to locate and click on the ‘DNS Zone Settings’ under the ‘Domain’ Section.
3. After clicking, A new page will appear. On that page, click the ‘Add Record’ button.

4. In the new window, you have to enter the details for the new DNS Record. Below is the information that you have to fill in.
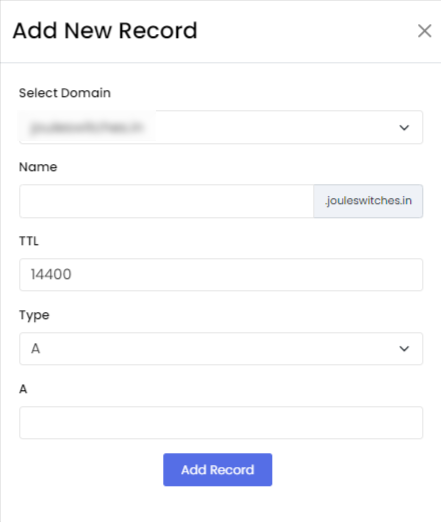
- Select Domain – You have to choose the domain to Add the DNS record.
- Name – You have to enter the name of the record.
- TTL – TTL stands for Time To Live. You have to enter the time to keep the Record activated.
- Type – You have to choose from the types of Record A/TXT
- Address – You have to specify the target of the DNS Record, such as IP address, domain, etc.
To save the details, click on the ‘Add Record’ button. Your DNS record will be added to the panel.
Also Read: How to Delete Email Accounts in Webuzo Panel?
Steps to Edit DNS Records in Webuzo Panel
1. In the Webuzo Panel, you have to locate and click on the ‘DNS Zone Settings’ under the ‘Domain’ Section.

2. You will see existing records in the panel, such as A record, CNAME record, MX record & more. You have to find the specific DNS record that you wish to edit.
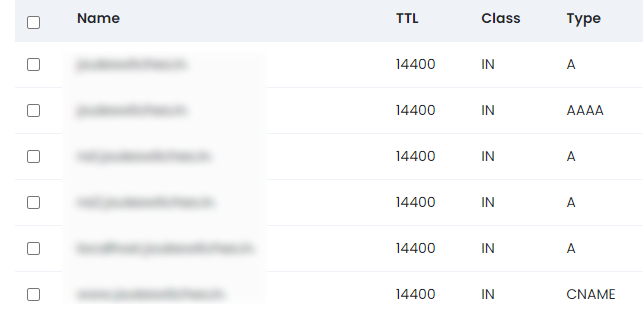
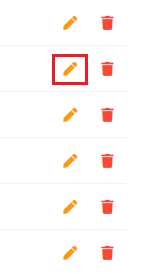
3. You have to click on the pencil icon to edit or modify next to the record.
4. Update the information you want to modify & click on the ‘Save’ button.
Following the steps mentioned in this guide, you can confidently add or edit DNS records to ensure your website functions smoothly and is accessible to users.