
Securing your server begins with protecting the gatekeeper itself – Your panel’s root password.
In the dynamic landscape of web hosting, where security is the most important, and data integrity is non-negotiable at all. Changing the root password of your Webuzo control panel emerges as a foundational step toward ensuring the resilience of your server.
In this guide, we will know the process of changing the root password of the Webuzo panel with quick & simple steps.
Let’s get started!
Also Read: How to Add an Email Account in the Webuzo Panel?
Steps to Change the Root Password of Webuzo Panel
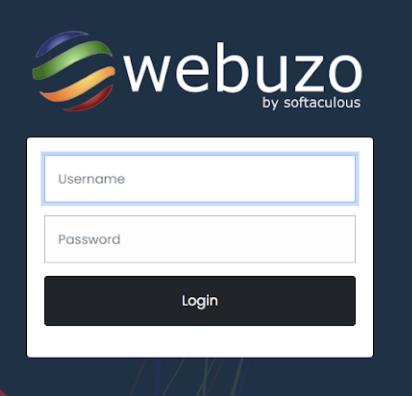
➔ Login to Webuzo Control Panel
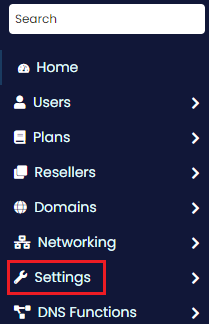
➔ Once logged in, locate and click on the ‘Settings’ in the menu.
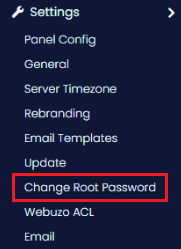
➔ In that section, look for the ‘Change Root Password’ option. Click on it to proceed.
➔ You will be prompted to enter your ‘New Password’ and ‘Retype New Password’
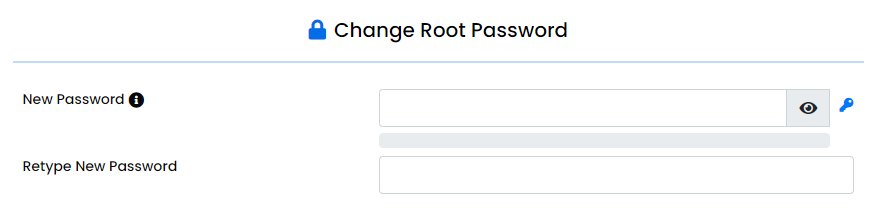
➔ Once you have entered and confirmed the new password, click the ‘Change Password’ button to save your new root password.

That’s it; your root password has been changed in the Webuzo panel!
Also Read: How to Change FTP User Password in Webuzo Panel?
Conclusion
By following the steps mentioned above, you can easily change the root password of your Webuzo control panel, which helps safeguard your server and protect your sensitive data from unauthorized access.
It is best practice to regularly update your passwords, and good password management habits are crucial for maintaining a secure server environment.