
Introduction
When setting up an account in the Webuzo panel, you can set up with just one main domain. But what if you require your website to appear on more than that one domain?
In that case, the domain alias comes into the picture!
This is having multiple names that point to the same website. It is like having different doors that lead to the same room.
For example, let’s say you have a website called ‘example.com.’ Now, you might also want people to be able to access your website by typing in ‘mywebsite.com.’ So, ‘mywebsite.com’ would be a domain alias for ‘example.com.’
In this article, we’ll walk you through how to add a domain alias to add these extra domains to your primary one in the Webuzo panel when you have an enduser access.
Let’s get started!
Also Read: How to Add a Domain in Webuzo With End-user Access?
Steps to Add Domain Alias in Webuzo Panel With Enduser Access
➔ You have to log in to the Webuzo panel by entering your username & password.
➔ Once logged in, you will be directed to the Webuzo dashboard. In that, Locate the ‘Domain’ section.
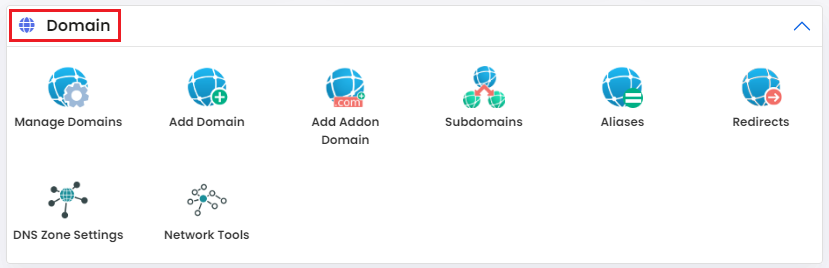
➔ In that section, click on the ‘Aliasis’ option.
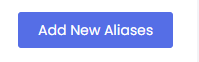
➔ A new page will appear; click the ‘Add New Aliases’ button to proceed.
➔ Once you click it, A box will appear in which you have to fill in the details.
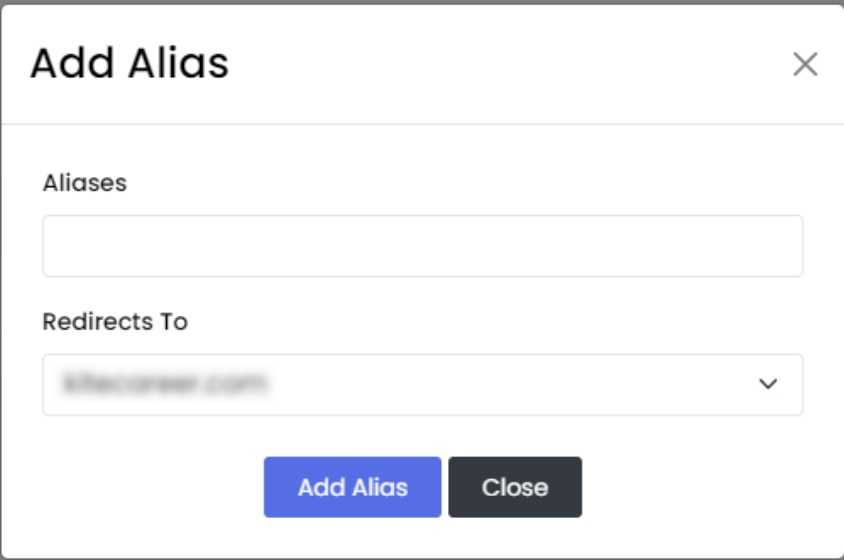
❖ In the ‘Aliases’ box, you have to set the name that you want to keep as your domain alias.

❖ In the ‘Redirects To’ section from the dropdown list, you have to choose the domain or subdomains that you want to redirect.

➔ Once you enter the details, click on ‘Add Alias’

That’s it; your Domain alias has been successfully added to your Webuzo panel!