
If you are using a Windows VPS (Virtual Private Server), setting up an FTP server lets you upload website files, manage backups, share data with clients, and transfer large files remotely. Unlike a local PC setup, a VPS runs 24/7 on a data center network, making it ideal for hosting an FTP service.
On a Windows VPS, the process is similar to that of a standard Windows system, but you must also configure firewall rules and networking properly so that remote users can connect.
In this guide, we will explain every step of creating an FTP server in Windows clearly and descriptively so you understand both the setup process and the purpose of each configuration.
Before You Start
You need to make sure:
- You have Administrator access to your Windows VPS.
- You are connected to VPS using Remote Desktop (RDP).
- Your VPS allows Port 21 in its hosting firewall/security group.
Also Read: Install Remote Server Administration Tools on Windows 10
Process to Create an FTP Server in Windows Server
➢ Step 1: Connect to Your Windows VPS
First, you have to log in to your Windows VPS
➔ Open ‘Remote Desktop Connection’ on your local computer.
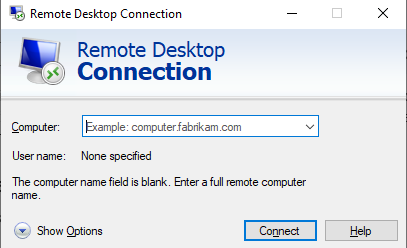
➔ In that, you have to enter your VPS Public IP address.
➔ Once you enter, click ‘Connect.’
➔ Enter the Administrator username and password.
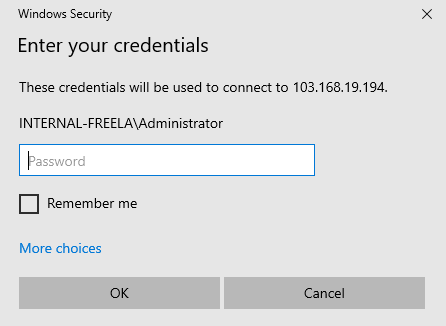
Once logged in, you are now working directly inside your VPS server.
Also Read: How to Install IIS Manager in Windows Server?
➢ Step 2: Install IIS and FTP Server Role
Windows VPS does not enable FTP service by default. You must install it using Server Manager.
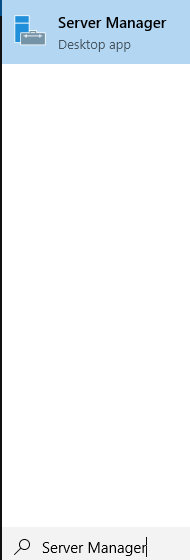
➔ For that, you have to open Server Manager by clicking ‘Start’ & search ‘Server Manager’, & open it.
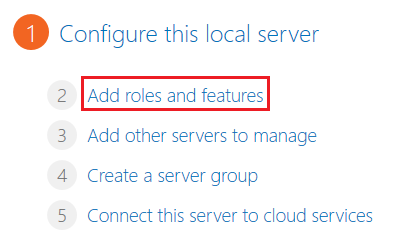
➔ In that, Click ‘Add Roles and Features.’
With this, the installation wizard will open.
➔ Now, it’s time to select the Installation type. In that, choose a ‘Role-based or feature-based installation.’
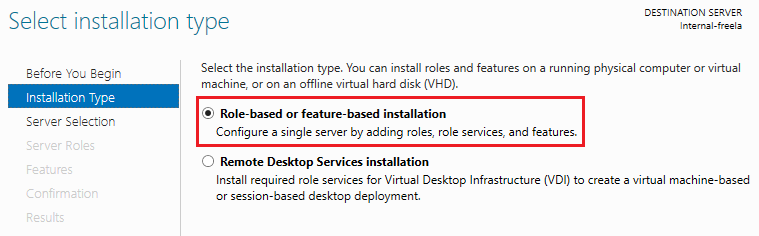
➔ Once selected, click ‘Next.’

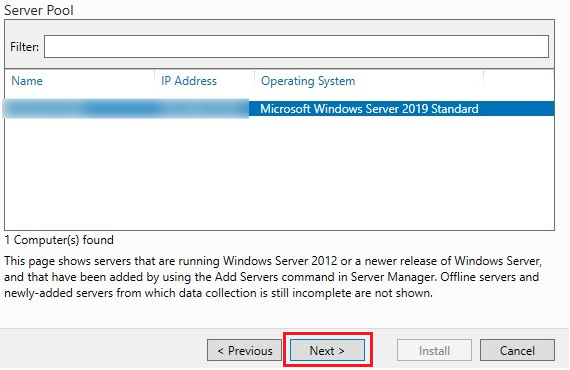
➔ Now, select your VPS server from the list & click ‘Next.’
It’s time to install the Web Server (IIS), where you have to check ‘Web Server (IIS).’
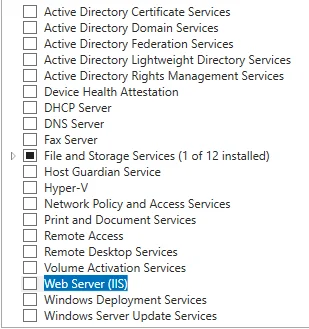
➔ A pop-up will appear where you have to click ‘Add Features.’
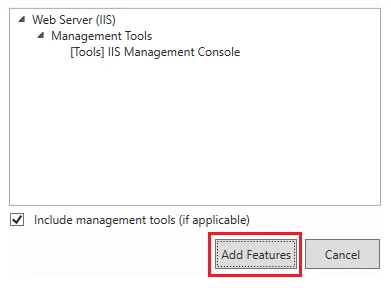
➔ click ‘Next’

➔ Now, you have to select FTP Features. For this, under ‘Web Server Role (IIS)’
In that,
- • Expand ‘Web Server.’
- • Expand ‘FTP Server.’
- • Select:
- FTP Service
- FTP Extensibility
- • You also need to ensure:
- IIS Management Console is selected (under Management Tools)
➔ In that, click ‘Next’ and then ‘Install.’

Wait for installation to complete, then click Close.
Your VPS is now capable of running FTP services!
Also Read: How to Install GCC Compiler on Windows?
➢ Step 3: Create a Folder for FTP Storage
As your FTP server needs a directory to store files, you need to create an FTP Directory.
To create this:
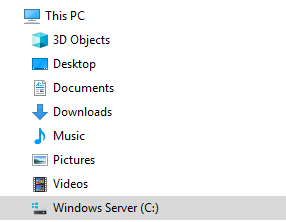
➔ Open ‘File Explorer.’

➔ Go to the ‘C Drive.’
➔ You have to create a new folder, for example:
| C:\FTPData |
This folder will contain all uploaded and downloaded files.
Now you have to set folder permissions correctly, as without them, users cannot upload or download files.
To do this:
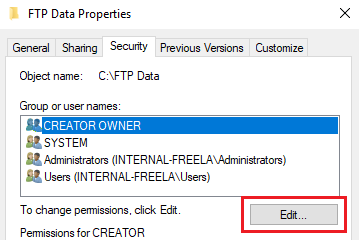
➔ Right-click the folder & click ‘Properties.’
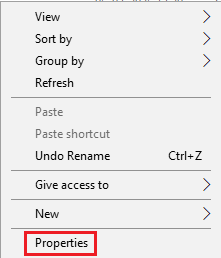
➔ Go to the ‘Security’ tab.

➔ In that, click ‘Edit.’ & then click ‘Add.’
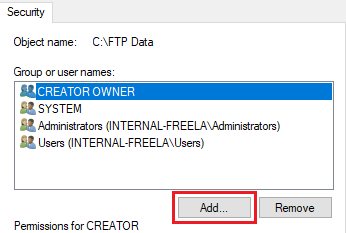
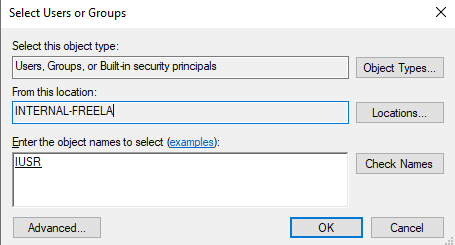
➔ In that, Add:
| IUSR |
and your Windows user account.
➔ In that, you have to grant:
- Read
- Write
- Modify (if uploads are allowed)
➔ Once granted, click Apply → OK.

This ensures FTP service can access the folder.
Also Read: How to Send Ctrl Alt Delete in Remote Desktop in Quick Ways?
➢ Step 4: Create FTP Site in IIS
Now we configure the FTP server inside IIS.
➔ For this, open ‘IIS Manager’ by pressing ‘Windows + R.’
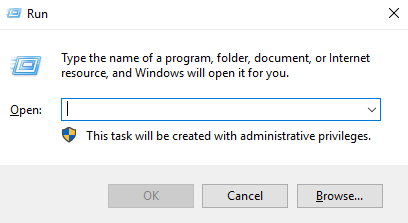
➔ In that, you have to type ‘inetmgr’ & pressing ‘Enter.’
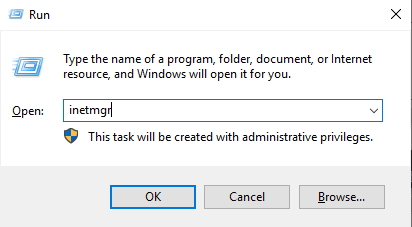
With this, IIS Manager will open!
➔ In the left panel, right-click on ‘Sites.’
➔ Click ‘Add FTP Site.’
A configuration window will appear where you have to add the details:
- • FTP Site Name: Example: VPSFTPServer
- • Physical Path:
Browse and select ‘C:\FTPData.’
Once done, click ‘Next.’
Also Read: How can you connect to a Remote Desktop using CMD?
Step 5: Configure Binding and SSL
This step defines how users connect to your VPS FTP server.
Here are the Binding Settings
- IP Address: Select your VPS public IP.
- Port: Keep default 21.
- Check ‘Start FTP Site Automatically.’
For production VPS servers, it is recommended to use an SSL Certificate.
Here is the setup of the SSL Settings.
- Allow SSL (or Require SSL if you have a certificate)
If you do not have an SSL certificate yet:
- Select No SSL (only for testing).
Click ‘Next.’
Also Read: How to Check Angular Version in Windows CMD?
It’s time to define who can log in.
Authentication
- Enable Basic Authentication
This allows login using Windows username and password.
Authorization
In that, Select:
- Specified Users
- Enter your Administrator or the created FTP user account
Give permissions:
- ✔ Read
- ✔ Write (if file uploads are required)
➔ Click ‘Finish.’
Your FTP server is now configured!
Also Read: A Guide To Locating & Editing a Host File in Windows
Even though IIS is configured, the firewall may block access.
To allow FTP in Windows Firewall, follow these steps:
- ➔ Open ‘Windows Defender Firewall.’
- ➔ In that, click ‘Advanced Settings.’
- ➔ Click ‘Inbound Rules.’
- ➔ To create a rule, click ‘New Rule.’
- ➔ Select ‘Port’ and then click ‘Next.’
- ➔ Choose ‘TCP.’
- ➔ In that, enter ‘21.’
- ➔ Click ‘Next.’
- ➔ Select ‘Allow the connection.’
- ➔ Apply it to:
- ◆ Domain
- ◆ Private
- ◆ Public
➔ Give rule name ‘FTP Port 21.’
Once done, click ‘Finish.’
Also Read: How Can You Find The Location of the Windows Log Files?
Step 8: Test Your FTP Server
Now, you have to test from your local computer.
- Open File Explorer and type ‘ftp://your-vps-public-ip’
- In that,enter your Windows username and password.
If login is successful and the folder opens, your FTP server is working correctly.
Also Read: How to Fix Remote Desktop Connection Has Stopped Working?
Security Best Practices for VPS FTP
- ➔ Do not use Administrator for FTP login.
- ➔ Enable SSL (FTPS) for encrypted connections.
- ➔ Use strong passwords.
- ➔ Restrict access to specific IPs if possible.
- ➔ Regularly monitor FTP logs in IIS.

Conclusion
Setting up an FTP server on a Windows VPS is a powerful way to manage remote file transfers securely and efficiently. The process involves installing IIS, enabling FTP services, creating a storage directory, configuring authentication, and opening required ports in both Windows Firewall and VPS network settings.
Once properly configured, your VPS becomes a 24/7 file-transfer hub you can access from anywhere in the world. Just remember one thing: security is crucial when exposing FTP to the internet. Always use strong credentials and enable SSL whenever possible.
Your Windows VPS FTP server is now fully ready for file transfers and remote management.