
Are you curious about disabling ModSecurity for a particular domain in cPanel?
Well, here’s a guide to help you disable ModSecurity!
But before we dive in, let’s understand what ModSecurity does.
ModSecurity is a web application firewall that plays a crucial role in protecting web applications from various cyber threats & attacks. It acts as a wall between the web server and incoming traffic on the web, which helps in identifying & mitigating potential security threats.
This shows that enabling Modsecurity on the website is a good practice!
However, there might be some scenarios where the need to disable ModSecurity temporarily or permanently may arise to troubleshoot the issues or allow certain blocked requests.
In this article, We will provide you with step-by-step instructions on how to disable ModSecurity in cPanel.
Also Read: How to Clear the Website Cache in cPanel?
Steps to Disable ModSecurity in cPanel
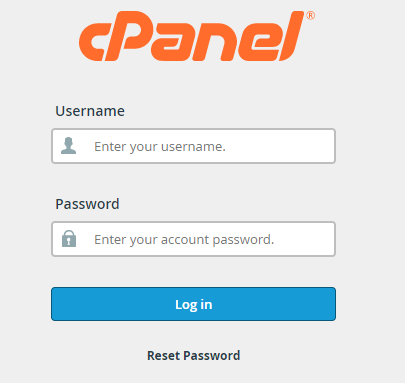
➔ Login to cPanel
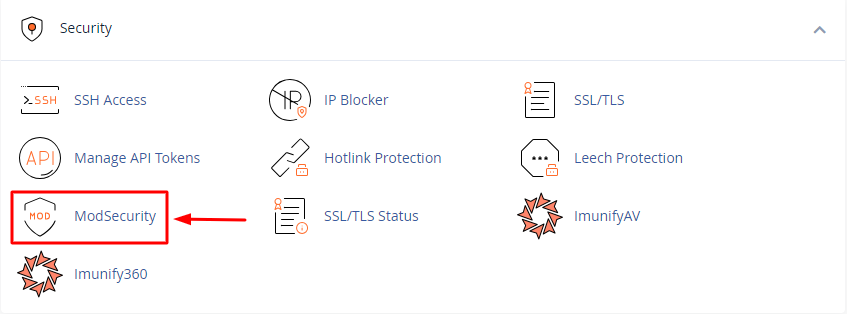
➔ After logging in, navigate to the ‘Security’ section in the panel.

➔ In that section, look for the “ModSecurity” icon and click on it.
➔ In the ModSecurity interface, You will see a list of domains associated with your cPanel account.
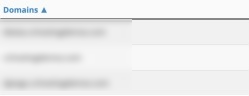
➔ Select the domain you want to disable ModSecurity & toggle the button ON to OFF.

This will effectively disable ModSecurity for the selected domain!
Also Read: What is HSTS & How to Implement on your website?
Conclusion
This is how the process of disabling ModSecurity works in the cPanel. After troubleshooting the specific compatibility issues, make sure to re-enable the ModSecurity once the issue is resolved to maintain the security of your websites.