
While building your website, connecting your domain name with your hosting account is the most important aspect of bringing your online presence to life. This process might seem tedious for beginners, but fear not, we got you covered.
This guide will walk you through the steps to seamlessly connect your domain with your hosting account.
Also Read: How to Login into cPanel From the Host IT Smart Client Area?
Steps to Connect Your Domain With Your Hosting Account
Step-1: First, You have to log in to your Host IT Smart account by clicking the ‘Login; button on the top-right of the Host IT Smart Website.
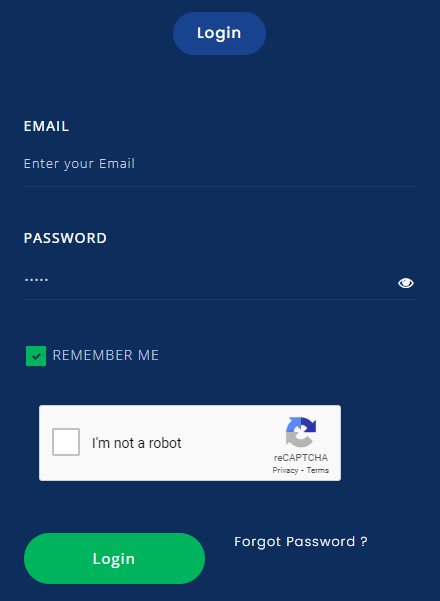
Step-2:Enter your credentials & log in to your account.
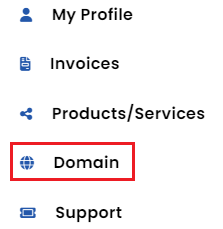
Step 3: After logging in, click ‘My Account’ to open a dropdown.
![]()
Step-4: From the opened dropdown, select ‘Domain.’
Step-5: After clicking it, You will see your domain under the ‘My Domains’ section you purchased from Host IT Smart. If you have registered multiple domains, the list will be longer.
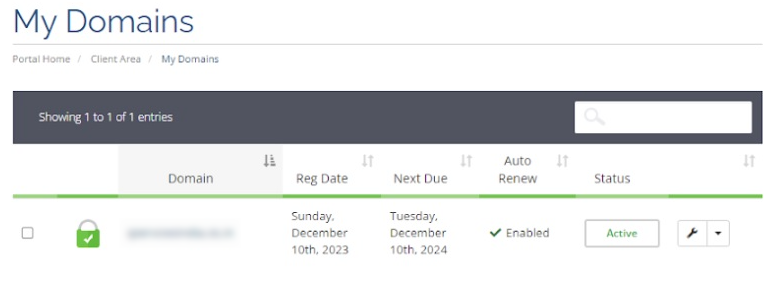
Step-6: Select the domain name you want to connect to your hosting account & click on the ‘Dropdown Arrow’ button .
![]()
Step-7: From the menu, you have to select ‘Manage Nameservers’
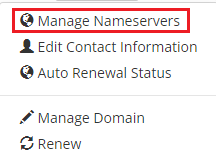
Step-8: In the Nameservers section, You will see two options, ‘Use Default Nameservers’ & ‘Use Custom Nameservers.’ You must select ‘Use Custom Nameservers’ from those two to point your domain to the hosting account.

Step-9: In that option, you have to enter the nameserver addresses your hosting provider emailed you after purchasing the plan. Two nameservers will be provided to you.
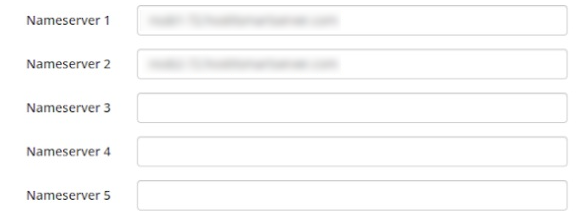
Step-10: Once you add your nameservers, simply click on ‘Change Nameservers’ below the section & the process is done.
![]()
Remember that DNS changes may take some time to propagate across the internet; the deployment ranges from 24 to 48 hours.
Also Read: How to Add a New Domain To Cpanel?
Conclusion
Connecting a domain with a hosting account may seem complex at first, but following these steps will help you navigate the connection seamlessly. You should remember to choose a reliable hosting provider, gather the DNS information, update your nameservers, verify the connection, and set up your website.