
A website often goes through many changes during its lifetime. Sometimes you may want to redesign your website from scratch, migrate it to another platform, remove a test installation, or simply clean up unused files from your hosting account.
While WordPress is one of the most popular content management systems in the world, there are times when removing an existing installation is the best option. However, simply deleting a few files is not enough. A proper WordPress uninstallation should remove website files, databases, and associated configurations to prevent unnecessary storage usage and security risks.
The best part is that cPanel provides multiple ways to remove a WordPress installation. Whether you installed WordPress through Softaculous or manually uploaded it to your hosting account, the process is straightforward when performed correctly.
In this guide, you will learn two methods to uninstall WordPress from cPanel:
- Uninstalling WordPress using Softaculous
- Uninstalling WordPress manually
Let’s get started!
★ Quick Tip
If you’re only redesigning your website, consider creating a backup rather than uninstalling WordPress. A backup gives you the flexibility to restore your website later if needed.
Also Read: How to Safely Access cPanel Files Via ChatGPT?
Ways to Uninstall WordPress from cPanel
Method 1: Uninstall WordPress Using Softaculous
This is the easiest and safest method if WordPress was originally installed through Softaculous. Softaculous automatically tracks WordPress installations and can remove both the website files and database in a few clicks.
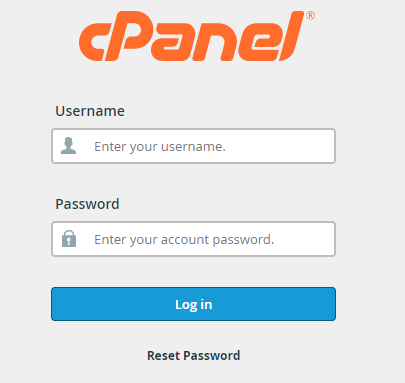
➔ Log in to your cPanel using your hosting credentials.
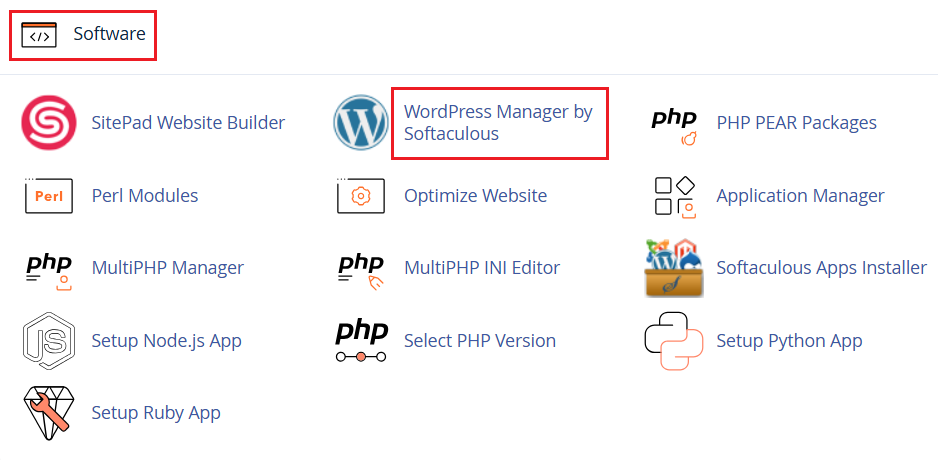
➔ Scroll down to the ‘Software’ section & click ‘WordPress Manager by Softaculous’.
➔ Click the ‘Installations’ icon located at the top-right corner. This section displays all applications installed through Softaculous under your hosting account.

➔ You have to locate the ‘WordPress’ installation.
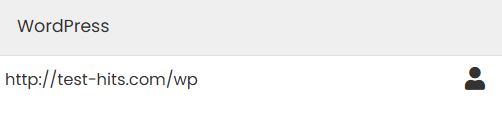
➔ Next to the selected WordPress installation, click the ‘Remove’ icon. Softaculous will open a confirmation page showing the files and database associated with the installation.

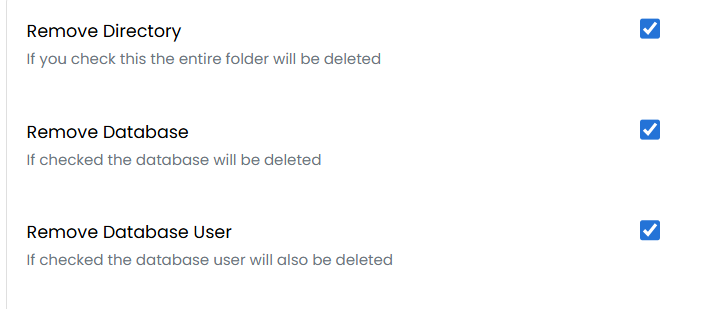
➔ You will see options such as:
- Remove Directory
- Remove Database
- Remove Database User
Keep both options selected if you want a complete uninstallation.
➔ Click ‘Remove Installation’. Softaculous will begin deleting WordPress core files, themes, plugins, media uploads, and database tables.

Once completed, the WordPress installation will be fully removed from your hosting account.
★ Quick Tip
Before deleting, note down the database name if you think you may need to recover data later from a backup.
Also Read: How to Install WordPress in cPanel?
Method 2: Manually Uninstall WordPress from cPanel
If WordPress was installed manually or Softaculous does not detect the installation, you can remove it manually through cPanel. This method involves deleting both the website files and the database.
★ MOST IMPORTANT STEP
Before making any changes, create a backup of the website files &
Database
A backup serves as a safety net, allowing you to restore your website if something is accidentally removed.
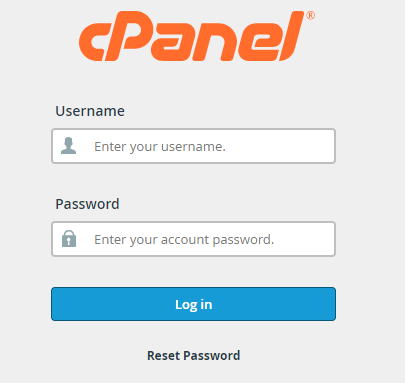
➔ Log in to cPanel.
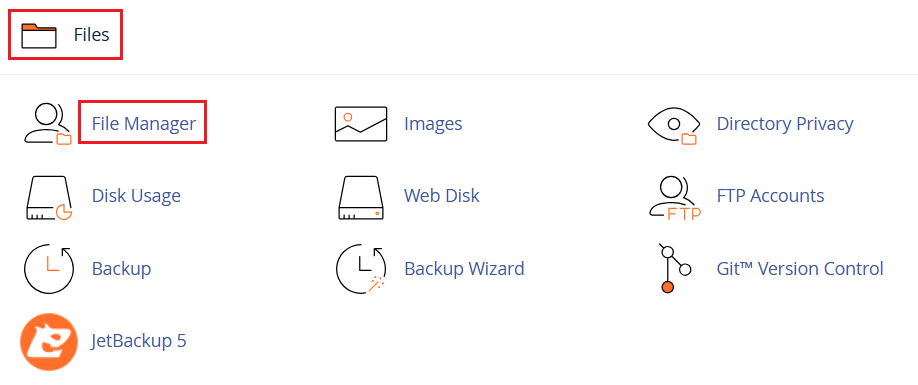
➔ Under the ‘Files’ section, click ‘File Manager’.
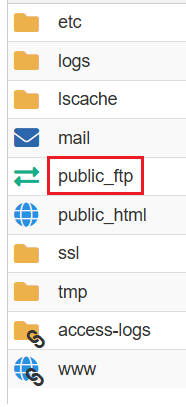
➔ Navigate to the folder where WordPress is installed.
➢ Common locations include:
- Public_html
- public_html/domain-name
- subdomain directories
➢ You should see WordPress files such as:
- wp-admin
- wp-content
- wp-includes
- wp-config.php
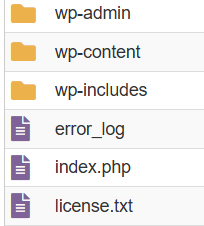
These files confirm that you are inside the WordPress installation directory.
➔ Select all WordPress files and folders & click ‘Delete’.
★ Quick Tip
Double-check the folder path before deleting. Removing files from the wrong directory can affect other websites hosted in the same account.
➔ Now, it’s time to delete the database. But, before deleting the database, you need to identify which database belongs to the WordPress installation. Open the ‘wp-config.php’ file and look for: ‘define(‘DB_NAME’, ‘your_database_name’);’

This value indicates the database used by WordPress.
➔ Return to the cPanel home page & click ‘Manage My Databases’.
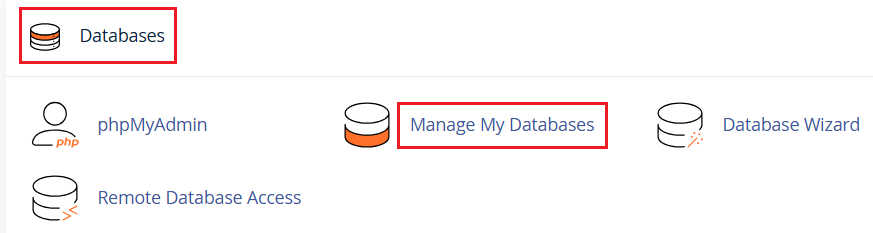
➔ Locate the database identified in the previous step & click ‘Delete’.

➔ Now, you have to remove database users. For this, scroll to the ‘Current Users’ section & Delete the User.

Delete the database user associated with the removed WordPress installation if it is no longer required. This helps keep your hosting account organized and reduces the number of unused database entries.
Also Read: How to Change MySQL Database User Password From cPanel?
How to Confirm WordPress Has Been Completely Removed?
After uninstalling WordPress, verify the following:
- ➢ WordPress files are no longer present in File Manager.
- ➢ The database has been removed from MySQL Databases.
- ➢ The domain no longer loads the WordPress website.
- ➢ Softaculous no longer lists the installation.
- ➢ Unused database users have been deleted.
Performing these checks ensures a complete and clean removal.
Also Read: How to Decrease Inode Usage in cPanel?
Common Mistakes to Avoid
1. Deleting Files Without Removing the Database
Many users remove website files but forget the database. This leaves unnecessary data stored in the hosting account.
2. Skipping Backups
Without a backup, recovering deleted content becomes extremely difficult.
3. Deleting the Wrong Database
Always verify the database name from the wp-config.php file before deletion.
4. Removing Shared Databases
Some advanced setups may use a database shared by multiple applications. Confirm before deleting.
Also Read: How to Reset A WordPress from cPanel?
Conclusion
Uninstalling WordPress from cPanel is simple when done correctly. If your website was installed through Softaculous, the built-in removal option offers the quickest and most convenient solution. For manually installed websites, deleting the WordPress files and associated database ensures a complete cleanup.
Before removing any installation, always create a backup so you can restore your website later if needed. A few extra minutes spent backing up your data can save hours of recovery work.