
Managing website files manually can become challenging as your project grows. Uploading files one by one through FTP, tracking changes, and coordinating updates with team members often leads to confusion and mistakes.
This is where Git comes in!
Plesk includes a built-in Git extension that allows developers and website owners to connect their websites directly with Git repositories. This makes deploying updates faster, safer, and more organized. So, whether you are working on a personal website, a business application, or a collaborative development project, Git integration in Plesk can simplify your workflow significantly.
In this guide, you will learn how to set up both Remote and Local Git Repositories in Plesk.
Also Read: How to Install Plesk on a Linux Server?
Understanding Repository Types in Plesk
Plesk supports two types of Git repositories:
➢ Remote Repository
A repository hosted externally on platforms such as:
- GitHub
- GitLab
- Bitbucket
- Self-hosted Git servers
Plesk connects to the repository and pulls updates when needed.
➢ Local Repository
A repository created directly on the Plesk server where developers can push changes directly to the hosting server without using a third-party Git provider.
Before You Begin
Before configuring Git in Plesk, ensure you have:
- Access to your Plesk Panel
- An active website subscription
- The Git extension is installed in Plesk
- Repository access credentials (for remote repositories)
- SSH access if required
★ Useful Tip
For production websites, consider testing deployments in a staging environment before publishing changes to visitors.
Also Read: How to Install WordPress Using Plesk Panel?
Method 1: Setting Up a Remote Git Repository in Plesk
Follow the steps below to connect and deploy a Git repository through Plesk.
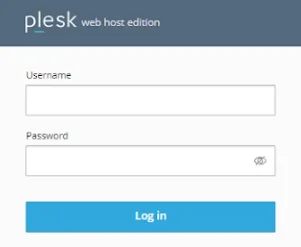
➔ Log in to Plesk using your username and password.
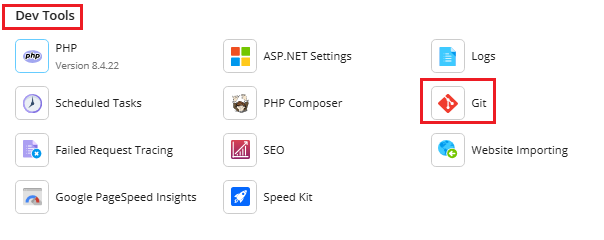
➔ Navigate to Git by ‘Websites & Domains → Git’

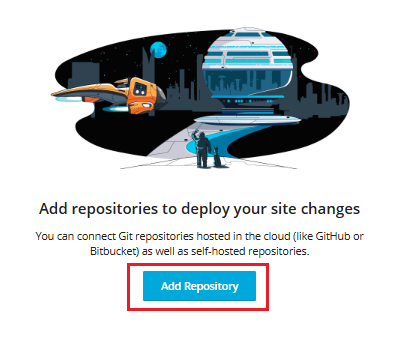
➔ Select ‘Add Repository’ to begin creating a new Git connection.
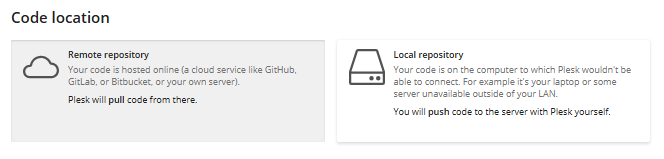
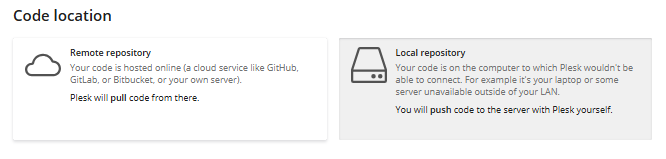
➔ Choose the option to connect to a ‘Remote repository.’
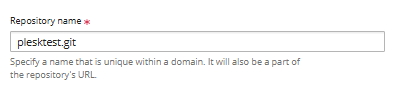
➔ You have to provide the repository URL.
★ Examples:
- HTTPS:
https://github.com/username/project.git
- SSH:
git@github.com/project.git
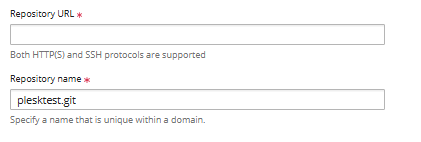
The repository URL tells Plesk where to retrieve your project files from.
★ Useful Tip
SSH-based connections are generally preferred for private repositories because they offer stronger security and easier authentication management.
➔ If your repository is private, configure:
- SSH Keys
- Personal Access Tokens
- Username and Password (if supported)
This authentication grants Plesk permission to access the repository.
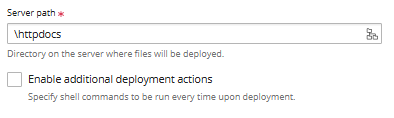
➔ Select the directory where repository files should be deployed.
Commonly: httpdocs/

➔ Click ‘Create Repository’

➔ Now, it’s time to verify the repository connection where you have to review:
- Active branch
- Latest commit
- Repository status
- Deployment settings
➔ Click ‘Deploy Now’ and this publishes the latest repository files to your website.

Also Read: How to Create Nameserver in the Plesk Panel?
Method 2: Creating a Local Git Repository in Plesk
➔ Log in to Plesk using your username and password.

➔ Navigate to Git by ‘Websites & Domains → Git’
➔ Select ‘Add Repository’ to begin creating a new Git connection.

➔ Choose the option to connect to a ‘Local repository.’
➔ Plesk automatically generates a repository location.
★ Example:
/var/www/vhosts/example.com/git/
This location stores Git history, commits, branches, and repository data.
➔ Now, you have to specify the deployment directory by selecting the directory where website files should be published.
Commonly: httpdocs/
➔ Click ‘Create.’ & Plesk will generate the repository and provide its Git URL.

➔ Now, you have to clone the repository on your computer by opening terminal or Git bash and run:
| git clone ssh://user@example.com/repository.git |
➔ Now, you have to add project files by placing your website files inside the cloned repository.
Then execute:
| git add . git commit -m “Initial Commit” |
➔ At last, push changes to the server by running
| git push origin master |
➔ Deploy the Repository by returning to Plesk and clicking ‘Deploy.’
Also Read: How to Import Database in Plesk Panel?
Common Git Issues and Troubleshooting
1. Authentication Failed
Possible Causes
- Incorrect credentials
- Missing SSH keys
- Expired access token
Solution
- Verify repository permissions and authentication settings.
2. Repository Not Updating
Possible Causes
- Changes were not committed
- Changes were not pushed
- Incorrect branch selected
Solution
- Confirm the latest commits exist in the configured branch.
3. Deployment Fails
Possible Causes
- Incorrect deployment path
- File permission issues
- Insufficient server access
Solution
- Review deployment settings and server permissions.
4. Website Not Showing Changes
Possible Causes
- Deployment not executed
- Browser caching
- CDN caching
Solution
- Deploy again and clear the cache before testing.
Also Read: How to Delete FTP Account in Plesk Panel?

Why Choose Host IT Smart’s Cheap Hosting with Free .com Domain?
Conclusion
Git integration in Plesk provides a modern and efficient way to manage website deployments. Whether you choose a Remote Repository hosted on GitHub, GitLab, or Bitbucket, or create a Local Repository directly on the server, Git helps streamline updates, track changes, and improve collaboration.
For most development teams, remote repositories offer greater flexibility and scalability. However, local repositories remain a practical solution for internal projects and environments where external Git services are not required.
By following the steps in this guide, you can successfully configure Git in Plesk and establish a more reliable workflow for managing your website files and deployments.