
Highlights
- Installing WordPress on localhost means setting it up on your computer without a live internet connection or web hosting.
- XAMPP is the best option for Windows and Linux users as a local server environment, while MAMP is the ideal option for Mac users.
- Here you will learn the detailed process of installing WordPress on localhost with XAMPP & MAMP.
Are you looking to build a WordPress website but don’t want to go live yet?
It is possible to install WordPress on your computer, which is called ‘localhost’, which can be the perfect way to practice and create your site without buying hosting or a domain.
By installing WordPress on Localhost, you will get a private workspace where you can:
- Learn how WordPress works
- Try out themes and plugins
- Build your website safely before showing it to the world
Whether you are just starting or testing new ideas, installing WordPress on localhost is a smart first step, and the best part is
It’s entirely free!
This article will walk you through the steps together, where you don’t need to be a tech expert.
Let’s get started!
Steps to Install WordPress to Localhost
- Install a Local Server Environment
- Download WordPress
- Move WordPress Folder to XAMPP’s Directory
- Create a Database for WordPress
- Run the WordPress Installation
- Set Up Your WordPress Site
1. Install a Local Server Environment
Before you install WordPress, your computer needs to behave like a server. For that, you will need a local server environment like:
- XAMPP – Ideal for Windows & Linux users
- MAMP – Ideal for macOS users
| Best Advice Go with XAMPP if you are just starting! It’s free, beginner-friendly, and widely used. |
Here’s how you can download & install XAMPP on your local system:
➔ To download XAMPP, go to the official Apache Friends website.
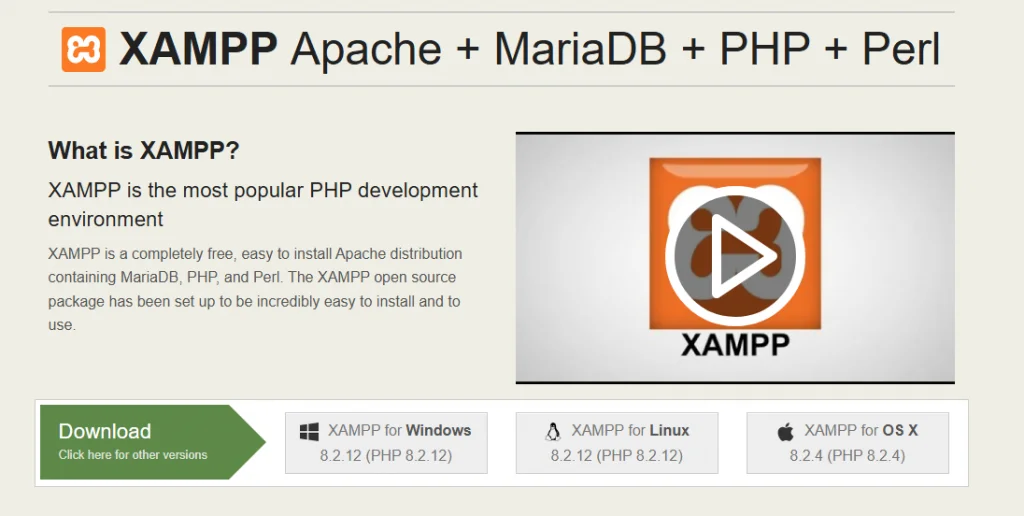
➔ Download XAMPP for your OS

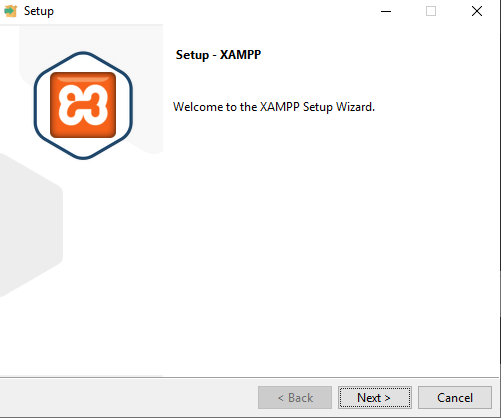
➔ Run the installer and follow the setup wizard.
➔ Once installed, open the XAMPP control panel.
➔ In that, start Apache and MySQL.
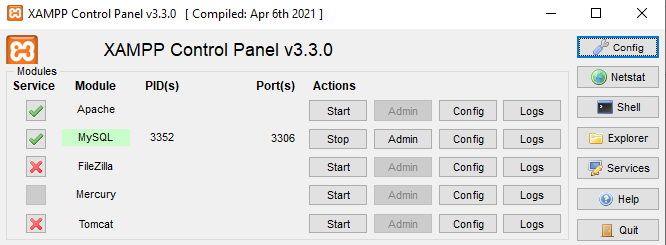
If both are green, you are good to go!
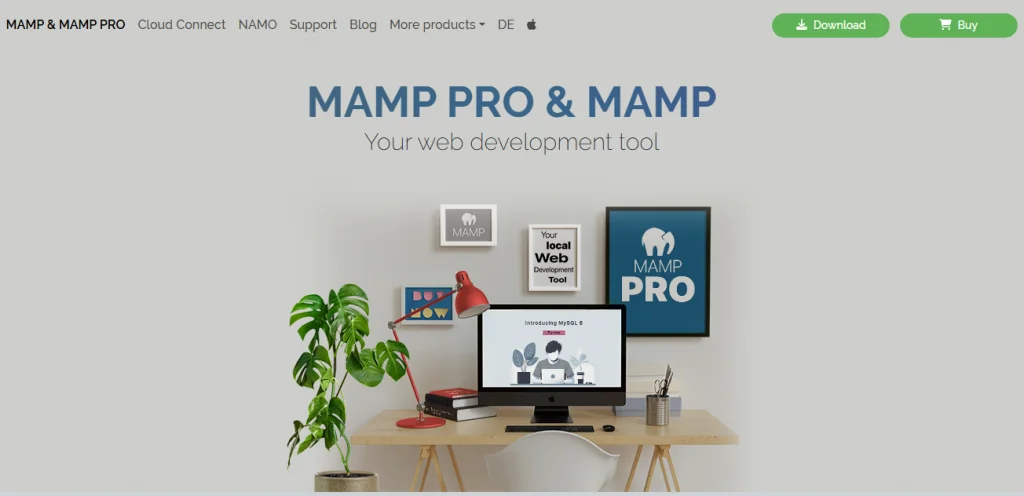
Here’s how you can download & install XAMPP on your Mac system:
➔ To download it, go to the official MAMP website.
➔ Run the installer and follow the setup wizard.
➔ Open the MAMP (not MAMP PRO) application.
➔ Click Start Servers to launch Apache and MySQL.
➔ Visit (http://localhost) in your browser to check if it’s working.
Also Read: How to Ping Google in Windows, Linux & MacOS?
2. Download WordPress
Once XAMPP is installed, it’s time to download & install WordPress on your local system.
➔ To download WordPress, visit the official WordPress website.

➔ In that, click ‘Download WordPress’ to get the latest version (a zip file).
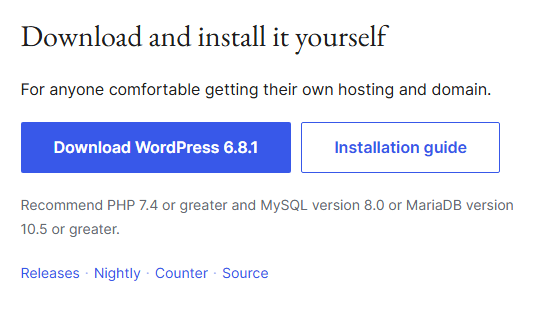
➔ Once downloaded, extract the zip file.
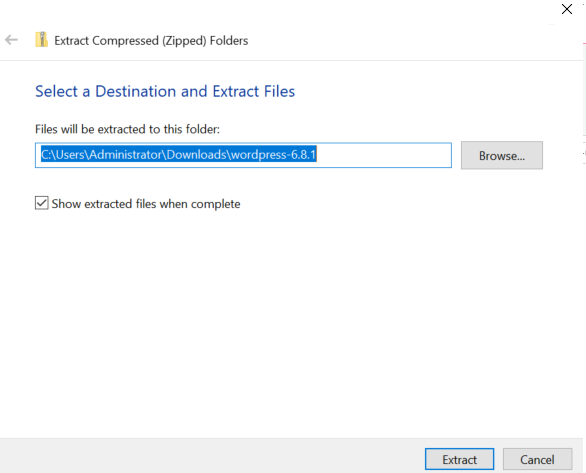
| Important After extracting, you need to rename the WordPress folder to something relevant (like mywebsite) to keep things organized. |
Also Read: Difference Between a Website, Domain Name and a URL
3. Move WordPress Folder to XAMPP’s Directory
Now that you have downloaded WordPress, it’s time to place the WordPress files where your local server (XAMPP) can access them. This lets your browser load the website properly when you type ‘localhost.’
To do this, follow these steps:
➔ Go to the directory where XAMPP is installed (It is usually C:\xampp).
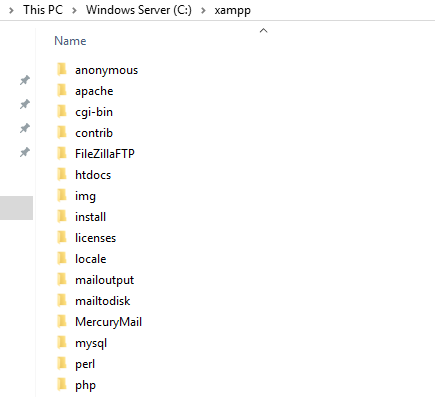
➔ Open the ‘htdocs’ folder.
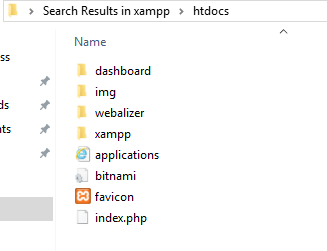
➔ Just copy and paste your WordPress folder (*the name of your folder) inside htdocs.
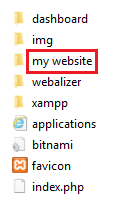
That’s it! Now, your local WordPress files are accessible via the browser!
4. Create a Database for WordPress
Before WordPress can run, it needs a place to store all your content, like posts, pages, settings, and more.
That’s where the database comes into the picture!
Don’t worry, creating one locally is easy and takes less than a minute. Below are the steps!
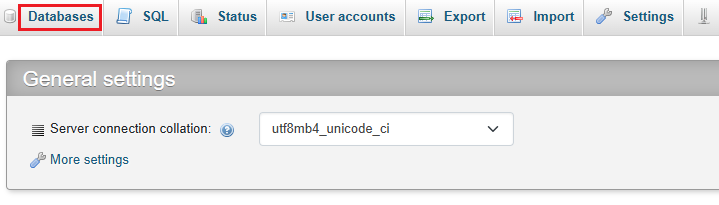
➔ Open your browser and go to http://localhost/phpmyadmin
➔ Click on ‘Databases’ in the top menu.
➔ In the ‘Create database’ section, you need to enter a name (e.g., mydb).
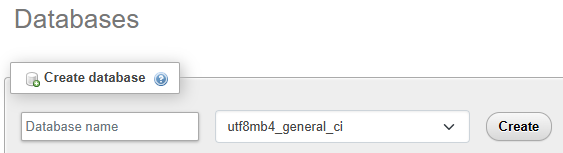
➔ In that, just hit ‘Create.’

| Tip Remember the database name. You will need it in the next step. |
Also Read: How to Create a Table in MySQL?
5. Run the WordPress Installation
Now that you have placed the WordPress files in the right folder and created a database, it’s time to bring your website to life!
In this step, you will run the WordPress installer through your browser and connect everything.
- Open your browser and go to http://localhost/mywebsite
- In that, select your preferred language and click ‘Continue.’
- Click ‘Let’s go!’ to start the setup.
You have to enter the following details:
- Database Name: the name you created earlier (mydb)
- Username: root
- Password: (leave it blank)
- Database Host: localhost
- Table Prefix: (you can leave it as wp_)

Once you have entered the details, click ‘Submit,’
Also Read: How to find what CMS a website is using?
6. Set Up Your WordPress Site
Now comes the fun part! Creating your WordPress login!
- Site Title: (Name your local site)
- Username: (Choose your admin name)
- Password: (Doesn’t matter you are on local, pick a strong one)
- Email: (Use any valid email)
- Search Engine Visibility: No need to tick. This is just a local setup.
After adding these details, click ‘Install WordPress’, and you are done!
You can check by logging in at http://localhost/mywebsite/wp-admin
What If Something Doesn’t Work as Expected?
In this case, you need to double-check:
- Whether Apache & MySQL are running
- You placed the WordPress folder in htdocs
- Whether the database credentials are correct.
Useful Advice
- Always back up your local projects, especially if you are experimenting a lot.
- Use plugins like All-in-One WP Migration or Duplicator to move your local site live later.
- Don’t forget to stop Apache/MySQL when you are done to free up system resources.
Also Read: How to Ensure if a Website is Secure?
Conclusion
And that’s how WordPress will install on your localhost!
Whether you used XAMPP or MAMP, your computer is now your personal testing ground where you can experiment with themes and plugins, build and tweak your website without going live, and learn WordPress in a risk-free environment.
Just remember, learning by doing is the best way to master WordPress. So explore, make mistakes, and enjoy the process. If you ever feel stuck, come back to this guide!