
In web hosting management, Plesk Panel is the best companion, offering an array of tools to simplify the complexities of website administration. Whether launching a new website or migrating an existing one, the ability to import databases into Plesk seamlessly is a fundamental skill.
This knowledgebase article aims to know the process, providing a clear and concise guide to importing databases within the Plesk Panel environment and ensuring your website data moves smoothly.
Let’s get started!
Also Read: How to Create a Database in the Plesk Panel?
Steps to Export Database in Plesk Panel
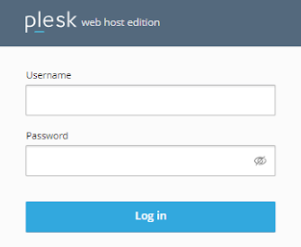
➔ Login to the Plesk Panel.
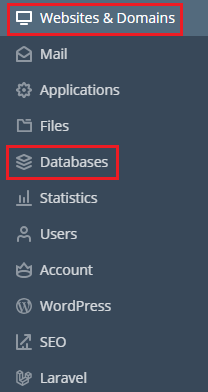
➔ After login, navigate to ‘Websites & Domains’ within the panel.
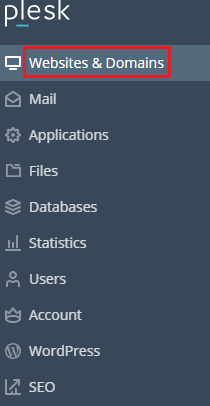
➔ Click the domain name for which you want to create a database.

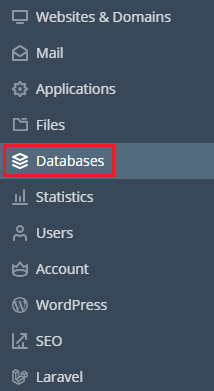
➔ Click ‘Databases’ in the left sidebar to access the necessary database management tools.
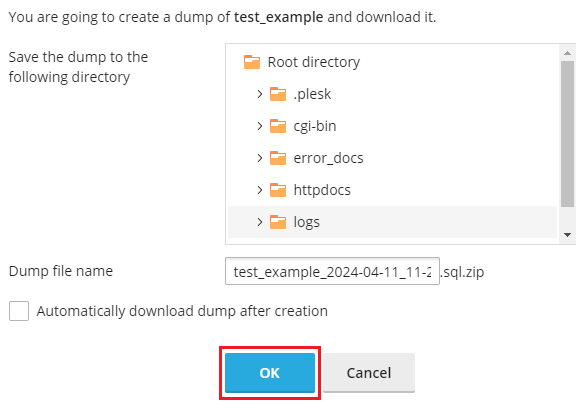
➔ On the new page, click on the ‘Export Dump’ section.
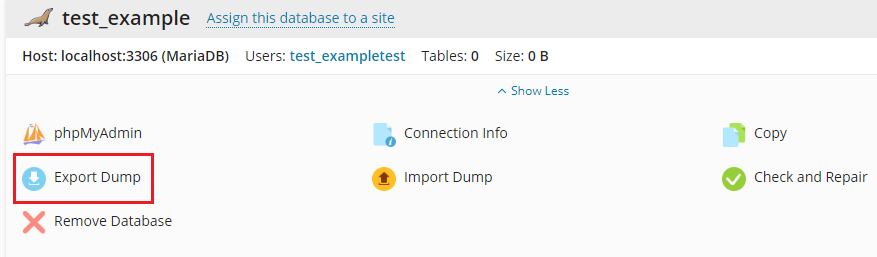
➔ If you want to save a dump in a particular directory on the server, You have to choose a directory on the server to save the dump file & click on ‘OK.’
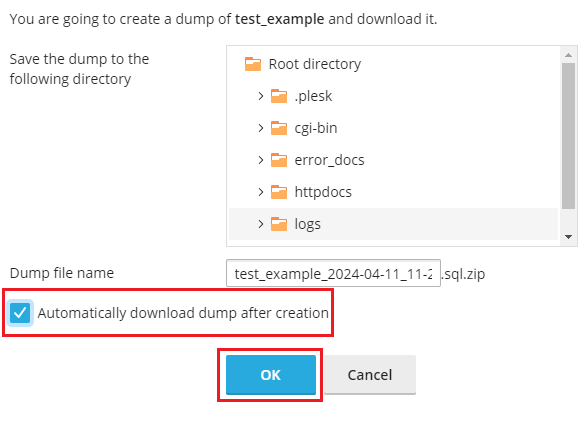
➔ If you want to save a dump locally as well as on the server, you need to select ‘Automatically download dump after creation’ & Click on the ‘OK’ button
That’s it; your database will be saved as a ZIP archive. Now, it’s time to import that database dump.
Also Read: How to Create an FTP Account in the Plesk Panel?
Steps to Import Copy of Database in Plesk Panel
➔ To import a dump, navigate to ‘Websites & Domains’ and click on ‘Databases.’
For a Local Dump
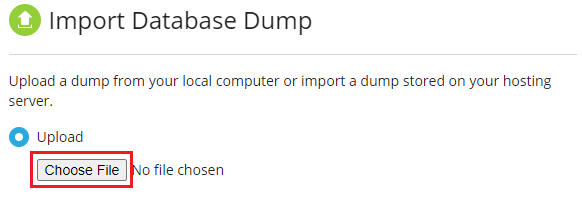
➔ Click on ‘Import Dump’

➔ Select ‘Upload.’
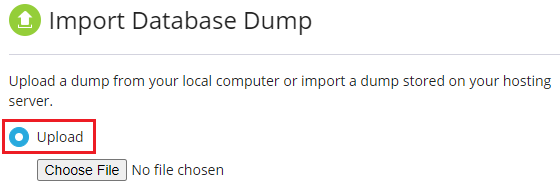
➔ Choose the ZIP archive with the dump file.
➔ Click ‘OK.’

For a Server Dump
➔ Select ‘Import’ & choose the dump file.

➔ Click ‘OK.’
When you want to deploy a dump in a newly created database, you need to select ‘Recreate the Database’ (This option deletes the old database and creates a new one with the same name for a clean import.)

Also Read: How to Delete FTP Account in Plesk Panel?

Conclusion
Bringing a database into the Plesk Panel is easy; it can be done with a few simple clicks. Plesk Panel is designed to be easy to use so you can handle your databases without stress. You must follow a few simple steps to bring in your database information smoothly.
This way, you can concentrate on your website’s content and features without delay. Whether you’re a pro at managing websites or just starting, Plesk Panel’s tools make dealing with data easy and user-friendly.